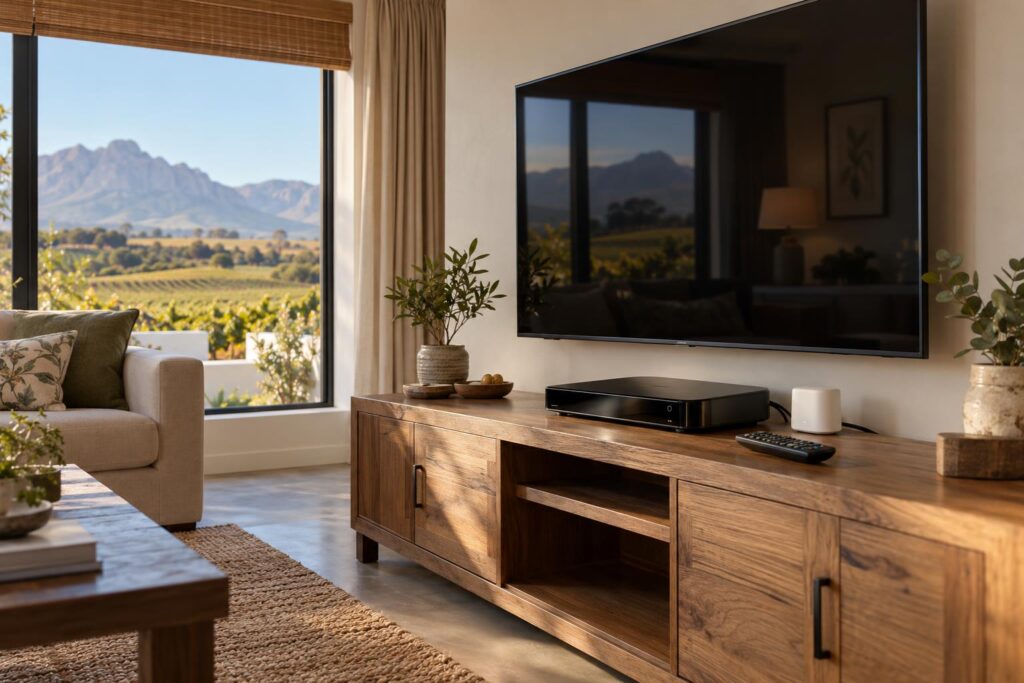
Connect your DStv Explora to WiFi in six simple steps, find out if you need the R199 WiFi Connector, and fix the drops our Wellington team sees most often.
Quick answer: To connect DStv Explora to WiFi, press the blue DStv button, go to Settings, then System Settings, then Connectivity Set-up. Pick your home network, enter the password and let the Explora test the connection. Older Exploras need the DStv WiFi Connector plugged into the rear USB port first. The Explora Ultra has WiFi built in.
Every week our team helps families connect DStv Explora to WiFi Wellington-wide, from small townhouses to farmhouses at the end of a gravel road. The job itself takes about ten minutes when everything is in place. This guide shows you what you need, walks you through each step, and explains what to do when a step fails or the connection keeps dropping.
What you need to connect DStv Explora to WiFi
Before you connect DStv Explora to WiFi, get three things ready. Most failed attempts we see start with one of them missing.
Your checklist before you start
- A working internet line. Test it on your phone in the room where the decoder stands.
- Your WiFi network name and password, written down exactly, capitals included.
- The right hardware: a DStv WiFi Connector for older Exploras, or nothing extra for an Explora Ultra.
- About 15 minutes, and a router that is switched on and online.
- An uncapped data plan if you can. DStv says data charges apply once the Explora is online.
Check which Explora you have
Look at the front of the decoder and the label underneath. The Explora Ultra has WiFi built in, so it joins your network without any extra parts.
The older Explora models have no wireless card. They connect with a network cable or with the official DStv WiFi Connector. If you are still choosing a box, our guide on Explora vs HD decoder explains which models go online and which do not.
WiFi Connector or network cable?
The DStv WiFi Connector is a small USB stick with a docking station. DStv lists it at R199 on the DStv Store at the time of writing (October 2026). You need one before an older box can join your network. A generic USB dongle from a computer shop will not work, because the decoder only recognises DStv's own unit.
A network cable from the router to the green Ethernet port on the Explora is the most stable option. DStv says so itself. If the router is in the same room or the next one, a cable often makes more sense than WiFi.
Many people set this up on the day we fit the decoder. When we do a full DStv installation in Wellington, we connect the Explora to your home network before we leave, so you never have to do this step yourself.
How to connect DStv Explora to WiFi in 6 steps
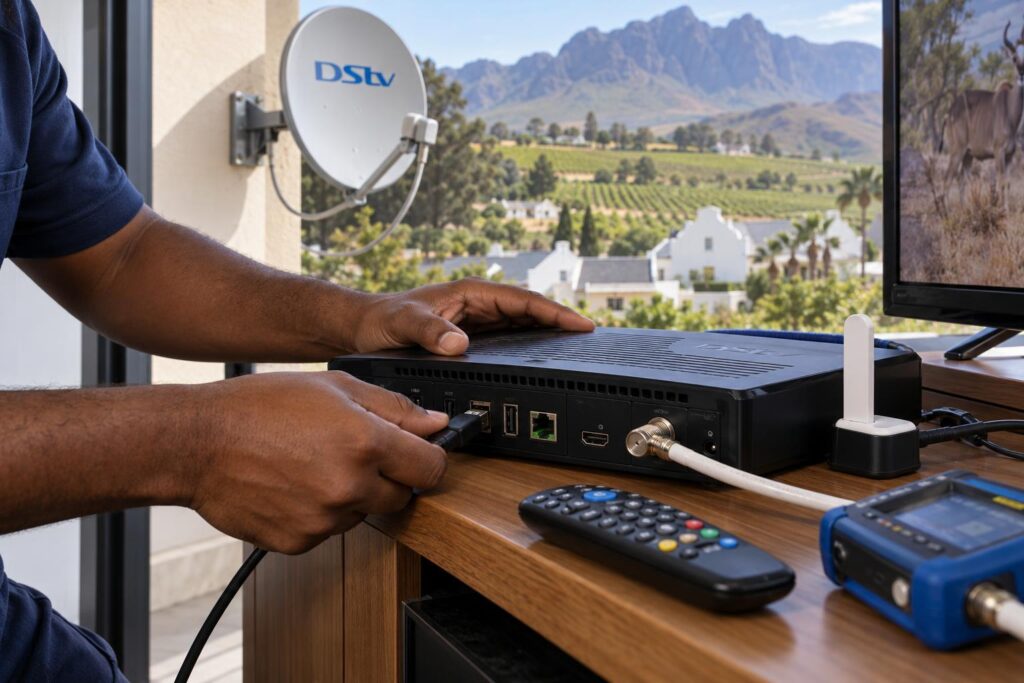
These steps show how to connect DStv Explora to WiFi using the official DStv WiFi Connector quick guide. They work on the older Explora models that use the connector.
- Check the router. Make sure it is on and the internet works on another device.
- Plug in the connector. Connect the docking station cable to the USB port on the back of the Explora. If your Explora also has a side USB port, do not use that one. Put the WiFi Connector into the dock. Its light should turn solid white.
- Open the menu. Press the blue DStv button on the remote. Scroll to Settings, select System Settings, then select Connectivity Set-up.
- Choose your network. The Explora searches for WiFi networks on its own. Highlight yours and press OK, then press OK again to connect.
- Enter the password. Type it slowly with the on-screen keyboard. Capitals and numbers must match exactly.
- Let it test. The Explora runs its own connectivity test. When it passes, open Catch Up to confirm everything works.
You can run the test again at any time. Press the Help button on the remote, choose Tools, then Connectivity Checker. You can read the full official walkthrough on the DStv website.
Connect DStv Explora to WiFi on an Explora Ultra
The Ultra has WiFi inside the box, so you skip step 2. Open the settings menu, find the network or connectivity section, choose your network and enter the password. The Ultra also runs streaming apps, so a strong signal at the TV matters even more.
Using a network cable instead
Plug one end of the cable into the green Ethernet port on the back of the Explora. Plug the other end into a free port on the router. Then run Connectivity Set-up the same way. If you are not sure which port is which, our guide to DStv decoder cables and connections shows every socket on the back of the box.
If you have a new decoder on the way, our DStv Explora and Ultra installation service includes the dish, the decoder, activation and the network link in one visit.
Can't connect DStv Explora to WiFi? Fixes for each step
Most attempts to connect DStv Explora to WiFi fail at one clear point. Find the step where yours stopped and start there.
Step 2: the connector light is not white
- Push the dock cable firmly into the rear USB port. It works loose when someone moves the TV unit to clean.
- Switch the decoder off at the wall for a minute, then on again.
- Check that you used the back port, not the side one.
Step 4: your network is not on the list
The connector cannot hear the router. DStv's own advice is to move the docking station to a spot where it gets a better signal. That is why the dock has a cable: you can lift it out of a closed cabinet and place it on top.
Restart the router too. If your phone shows one bar or less in front of the TV, the decoder is in a WiFi dead spot and no setting will fix that.
Step 5: the password is rejected
Retype it slowly. The on-screen keyboard makes it easy to miss a capital letter. Also check that you picked your own network, not a neighbour's with a similar name. In complexes this happens more than people think.
Step 6: connected, but Catch Up will not play
The Explora joined your network, but the internet behind the router may be slow or down. Load a video on your phone next to the TV. If that stalls too, the problem is the line, not the decoder.
Give it a few minutes after connecting. An Explora that has been offline for months sometimes downloads an update before the online features settle.
Local tip: WiFi has nothing to do with your live channels. If the screen shows E48-32 or no signal, the problem is the dish, cable or LNB. You can check your DStv signal strength on the decoder before you call anyone.
Still stuck on the same step?
Our technicians connect Exploras to home networks every week across Wellington and the Boland. One visit usually sorts both the decoder and the WiFi.
Why your Explora stops connecting to the internet
Many calls we get are from people whose Explora worked for a year and then went offline. Something changed on the network side, and the decoder still has the old details stored.
A new router or a fibre upgrade
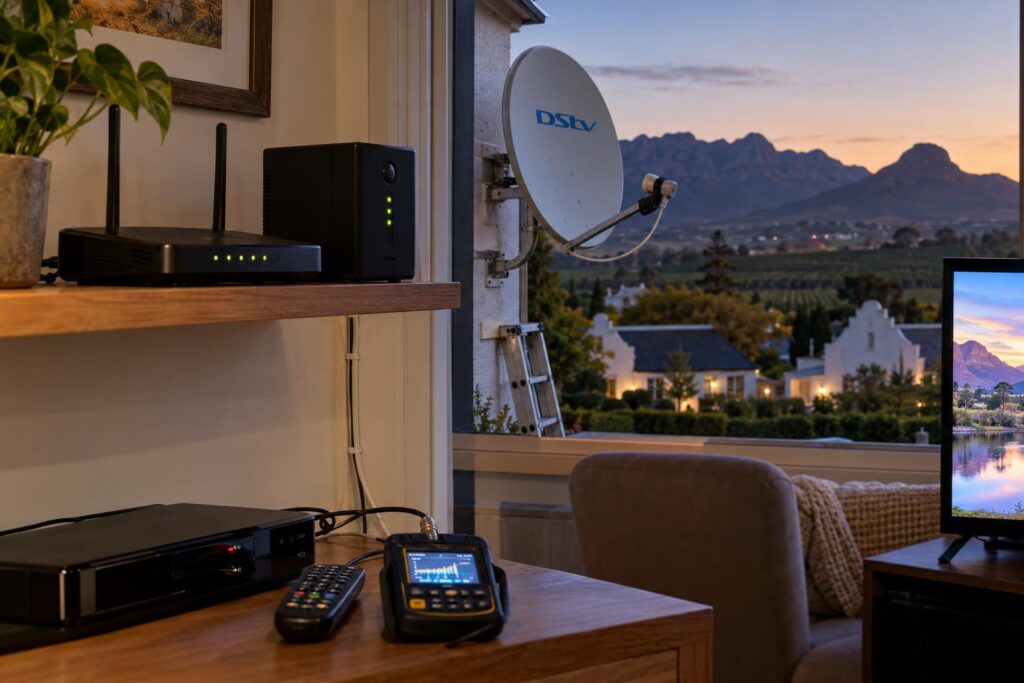
When a fibre company installs a new router, the network name and password usually change. The Explora keeps trying the old network and fails. Go back to Connectivity Set-up and connect again. DStv's own guide says to repeat that step whenever the network name or password changes.
Load shedding and power trips
If the router goes off, the Explora goes offline. Live channels keep working if the decoder has backup power, but Catch Up and streaming stop. The router, the fibre box and the decoder all need power for the connected features to work. Our article on load shedding backup for your TV and WiFi covers small UPS units that keep the router running.
Do not factory reset first
- A factory reset wipes your WiFi details and other settings.
- It does not fix a weak signal or a dead internet line.
- Work from the outside in: internet line, router, signal at the TV, password, then decoder settings.
DStv WiFi Connector price and other costs
Getting online is not an expensive job. Here is what you can expect, using DStv's listed price and our own published rates.
| Item | Price | Notes |
|---|---|---|
| DStv WiFi Connector (USB3000) | R199 | DStv Store price at the time of writing (October 2026). Includes the docking station and a 12 month warranty. |
| Network cable to the decoder | Quoted on site | Depends on distance, walls and how neat you want the run. |
| Repair or call-out visit | From R550 | Diagnostic visit, signal testing and connection fixes. |
| Explora setup with installation | From R2,200 | Full Explora or Ultra install, including network setup. Equipment is extra. |
You can check the current connector price on the DStv Store before you buy. Our prices are estimates and can change with the job, but most homes connect DStv Explora to WiFi for the cost of the connector alone.
Local factors that affect Explora WiFi in Wellington
The steps to connect DStv Explora to WiFi are the same everywhere. What changes is the house. Here is what we run into most around Wellington.
Thick walls in older town homes
Many older homes in Wellington town and Hillcrest have solid brick walls. A router in the study often cannot push a signal through two of them to the lounge. Our article on WiFi dead spots in the back room explains why, and what helps.
Complexes and townhouses
In the complexes around Newton and Uitsig, dozens of routers share the same airwaves. Your Explora may see ten networks with strong signals. Pick yours carefully, and if streaming stutters in the evening, a cable to the decoder is often the cure.
Farms, cottages and long driveways
Out towards Bovlei, Hermon and the Paarl side, the TV is often in a cottage or a separate lounge far from the router. WiFi across a yard is not reliable. We usually run a buried or conduit cable and fit a proper access point with our WiFi and fibre network cabling service.
On farms that run on LTE instead of fibre, watch your data. Streaming on the Explora uses data quickly, and a capped plan can run out halfway through the month.
When to call a local installer
Most homeowners can connect DStv Explora to WiFi on their own. Call us when the decoder cannot see the network at all, when the signal at the TV is too weak, or when you need a cable run through walls or ceilings.
- The WiFi Connector never shows a white light, even after a restart.
- Your phone has poor signal in front of the TV.
- The connection drops every evening or after every storm.
- Live channels also break up, which points to a dish or LNB problem.
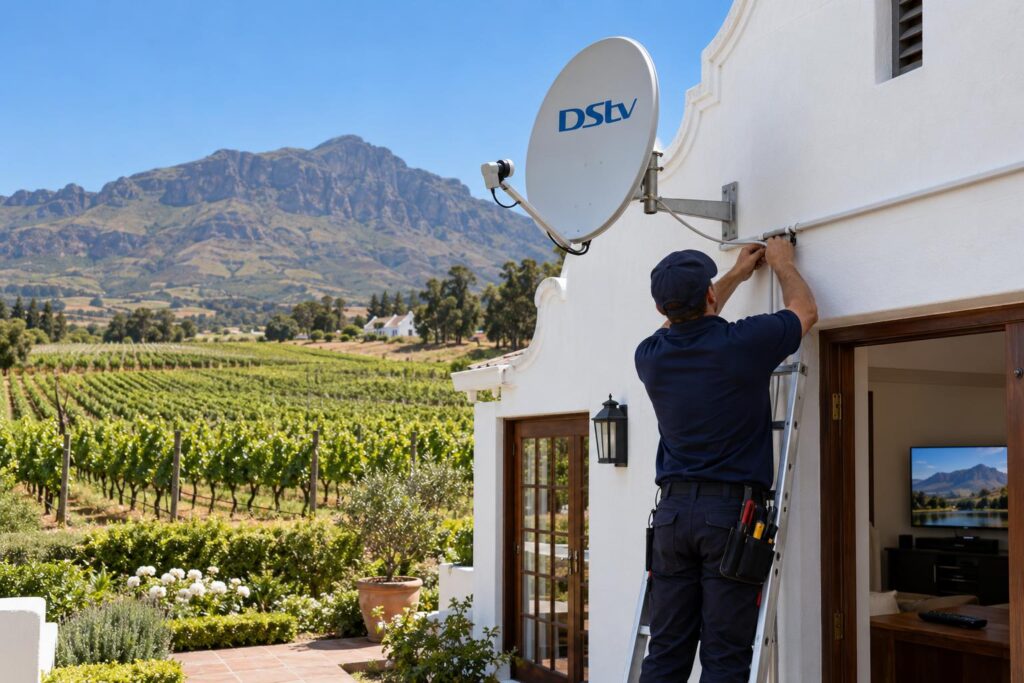
Our local DStv installers in Wellington carry signal meters and network testers, so we can see whether the fault is in the dish, the decoder or the WiFi.
Want it done properly in one visit?
We set up the Explora, test the satellite signal and get the WiFi working in the room where you watch TV, from Dalsig to Mbekweni.
Once you connect DStv Explora to WiFi, you get Catch Up, BoxOffice rentals, Showmax and remote recording from the DStv app. It is worth the ten minutes, and if anything goes wrong, you now know which step to check.
Connect DStv Explora to WiFi: common questions
How do I connect my DStv Explora to WiFi?
To connect DStv Explora to WiFi, press the blue DStv button and go to Settings, System Settings, then Connectivity Set-up. Choose your network, press OK and enter your password. Older Exploras need the DStv WiFi Connector plugged into the rear USB port first.
Can a DStv Explora connect to WiFi without a connector?
The Explora Ultra can, because it has WiFi built in. Older Explora models cannot. They need the DStv WiFi Connector or a network cable from the router to the green Ethernet port.
Why is my DStv Explora not connecting to WiFi?
The most common causes are a wrong password, a changed router name, or a weak signal at the TV. Restart the router, then repeat Connectivity Set-up. If your phone also struggles in front of the TV, the decoder is in a dead spot.
What is the DStv WiFi Connector price?
The DStv Store lists the WiFi Connector at R199 at the time of writing (October 2026). It comes with a docking station and a 12 month warranty. A generic USB WiFi dongle will not work.
Will connecting my Explora to WiFi fix a no signal error?
No. Live channels come from the dish, not the internet. Errors like E48-32 point to the dish, cable or LNB, so the WiFi will not change them.
How fast must my internet be to connect DStv Explora to WiFi?
DStv recommends at least 4Mbps for standard quality viewing and about 10Mbps for HD. An uncapped plan is best, because streaming and Catch Up use a lot of data.
Need a hand with this?
We are a quick call or WhatsApp away. Tell us what you are after and we will sort it: neatly, and the first time.
Get a quote →